How to get the perfect pastry for your Pastéis de Nata
When it comes to making authentic Pastéis de Nata, the creamy custard filling tends to steal the spotlight. However, the true magic of these Portuguese tarts lies in the pastry—crispy, flaky, and golden, it provides the perfect contrast to the smooth custard. Achieving this perfect pastry at home can seem daunting, but with the right techniques and a little patience, it’s entirely doable. Here’s how you can nail that professional-level pastry, even as a beginner.
The Importance of the Right Pastry
Traditional Pastéis de Nata are made with a unique type of puff pastry that’s thin, crispy, and golden brown. The layers need to be light and delicate but sturdy enough to hold the creamy filling. Unlike typical tart shells, the pastry for Pastéis de Nata must crisp up beautifully while also retaining a tender, flaky interior. It’s this combination of textures that makes the pastry so crucial to the final product.
Store-Bought Puff Pastry vs. Homemade
One of the most common questions people ask is whether they should make the puff pastry from scratch or use a store-bought version. While homemade puff pastry certainly delivers superior flakiness, store-bought puff pastry can save you time and still produce excellent results. Here’s a quick comparison:
Store-Bought Puff Pastry: Perfect for beginners and those short on time. Make sure to choose all-butter puff pastry for the best flavor and texture. Most store-bought varieties work well when rolled out to the appropriate thinness for Pastéis de Nata.
Homemade Puff Pastry: If you’re up for a challenge, making your own puff pastry from scratch can elevate the quality of your Pastéis de Nata. It will give you better control over the thickness and layering of the dough, allowing for a flakier, more delicate result.
No matter which option you choose, the key to achieving the perfect texture lies in the preparation and handling of the dough.
How to Prepare the Pastry for Pastéis de Nata
If you’re using store-bought puff pastry, follow these steps to ensure it comes out perfectly:
Thaw the Pastry: If using frozen puff pastry, let it thaw in the fridge overnight or at room temperature for about 30 minutes. Don’t rush this process—if the pastry becomes too soft, it will be difficult to work with and won’t hold its shape.
Roll It Thin: To get the signature flaky crust of Pastéis de Nata, you’ll need to roll the puff pastry out thinly. Aim for a thickness of about 1-2 mm. This thinness is essential for creating those crisp, delicate layers.
Cut Out Circles: Use a circular cutter or a glass to cut out circles of dough slightly larger than the Pastel de Nata molds. Press the dough into the molds, ensuring it’s evenly distributed and reaches the top edges of the mold.
Chill the Dough Again: Before filling the pastry with custard, it’s helpful to let the pastry chill in the molds for about 15 minutes in the fridge. This helps the layers of pastry maintain their structure during baking, resulting in a flakier crust.
The Secret to Flakiness: High Heat
One of the secrets to achieving a perfectly crispy pastry is high oven temperature. Traditional Portuguese bakeries use special ovens that reach temperatures over 300°C (572°F), but you can mimic this at home by setting your oven to 250°C (482°F) or as high as it will go.
Here’s why high heat matters:
Rapid Puffing: Puff pastry needs high heat to rise and form those beautiful, flaky layers. If the oven isn’t hot enough, the pastry will steam instead of puffing up.
Golden Crust: High temperatures also help the pastry develop a golden-brown, crispy crust without overcooking the custard filling.
Make sure your oven is fully preheated before baking and place the filled molds in the center rack to ensure even baking.
Using the Right Molds
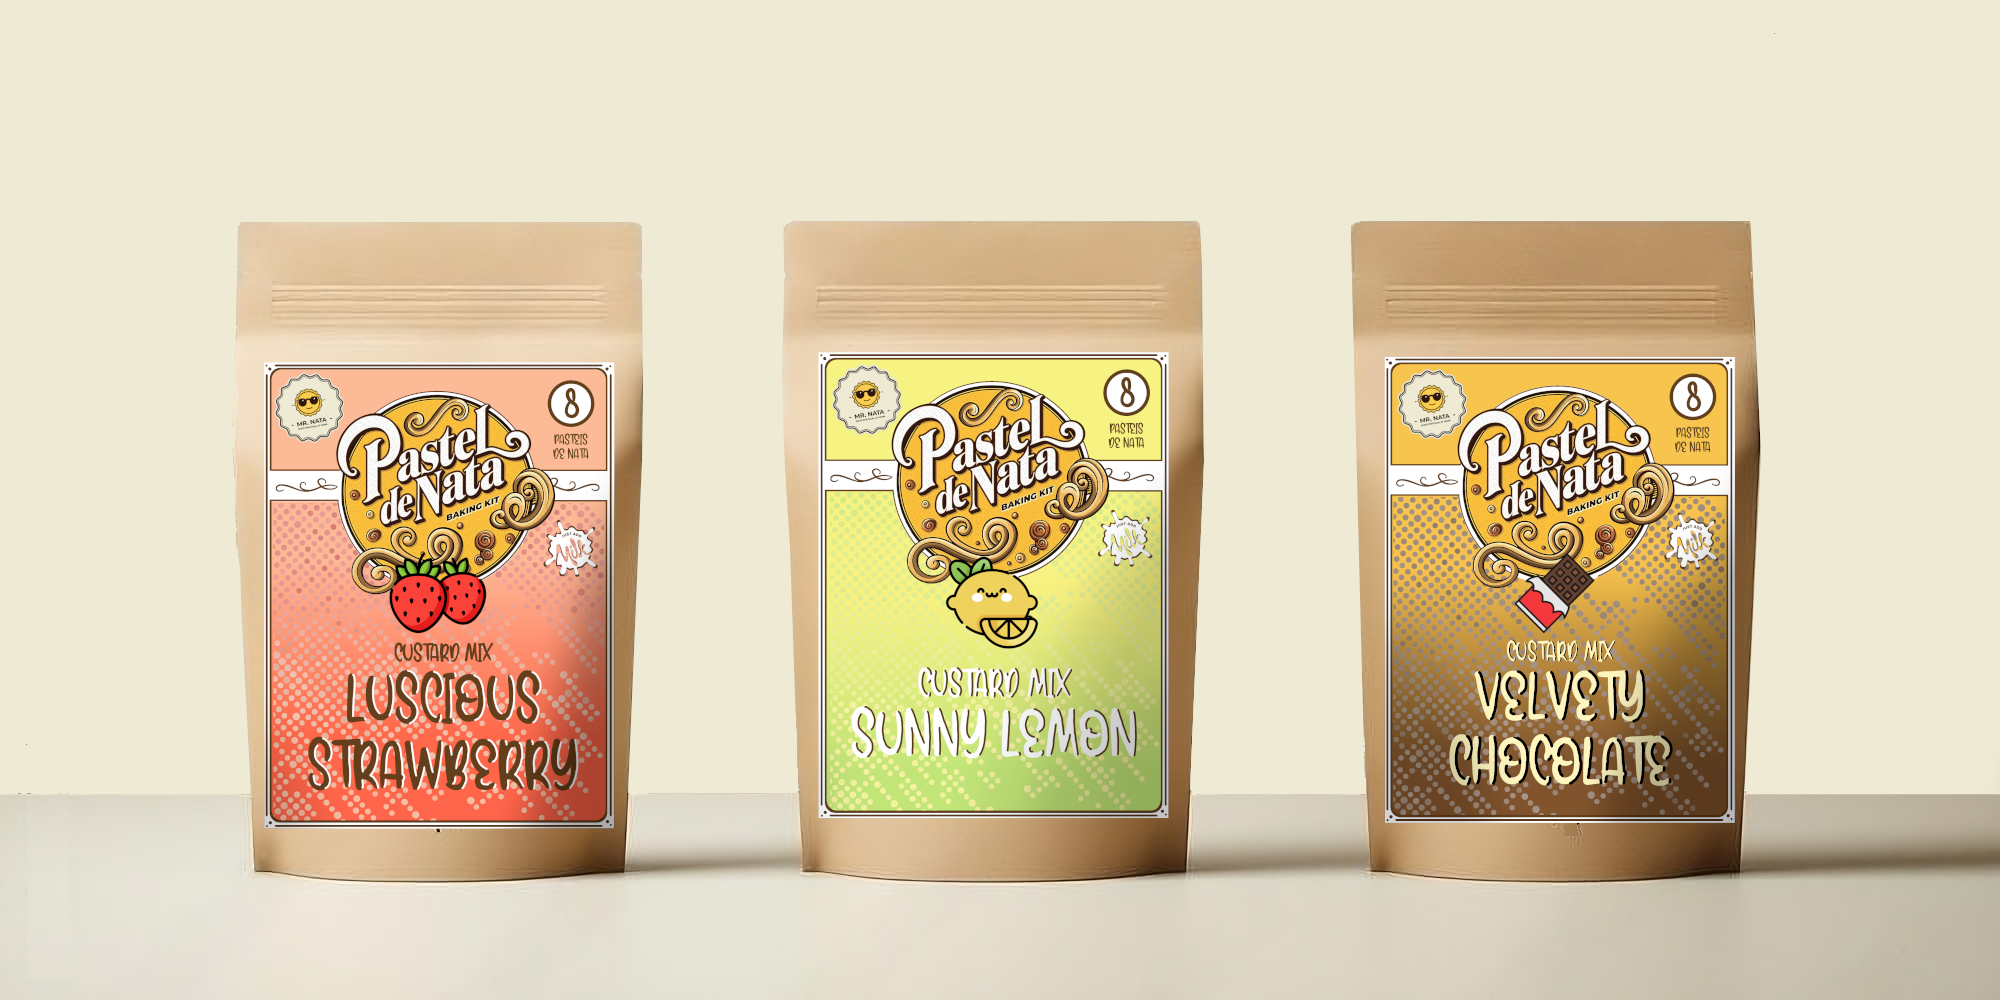
The right Pastel de Nata molds are crucial to achieving a well-shaped tart. These tarts aren’t meant to be as deep as regular muffins, so using the traditional, shallow metal molds is key. With the Mr Nata kit, you get the perfect molds that help ensure even baking and crisp edges every time.
Practice Makes Perfect
Achieving the perfect pastry for your Pastéis de Nata takes a bit of practice, but with the right techniques, you’ll get there in no time. Whether you choose to make your pastry from scratch or use store-bought puff pastry, the combination of thin layers, proper preparation, and high heat will deliver that perfect crunch.
With the Mr Nata kit, you get everything you need, from authentic custard to the correct baking tools, to make sure your Pastéis de Nata come out perfectly every time. So, roll up your sleeves, preheat your oven, and enjoy the satisfaction of biting into a perfectly flaky, golden Pastel de Nata, straight from your kitchen.


