5 tips for perfecting your Pastéis de Nata like a chef
Making Pastéis de Nata at home can seem like a challenge, especially if you're aiming for that professional, bakery-quality result. But with the right techniques and a few insider secrets, you can master the art of these delicious Portuguese custard tarts in no time. Whether you're a beginner or have some baking experience, here are five essential tips to help you perfect your Pastéis de Nata like a chef.
1. Use High-Quality Puff Pastry
One of the most important elements of a perfect Pastel de Nata is the flaky, crispy crust. For this, you need high-quality puff pastry. If you’re using store-bought pastry, make sure to choose all-butter puff pastry. Butter gives the pastry a richer flavor and helps it puff up nicely in the oven.
If you’re feeling adventurous, you can make your own puff pastry from scratch, but for most home bakers, a good store-bought option works just as well.
Tip: Roll out the puff pastry very thin (around 1-2 mm) for an extra flaky result. The thinner the pastry, the better the crispiness.
2. Chill Your Pastry Before Baking
Before filling your pastry molds with the custard, it’s essential to chill the pastry for about 15-20 minutes in the refrigerator. This step helps the pastry keep its shape during baking and prevents it from shrinking too much in the oven.
Chilled pastry also ensures that the layers stay intact, resulting in a more defined, crispy crust. Simply press the pastry into the Pastel de Nata molds and refrigerate them while you prepare the custard filling.
3. Get the Custard Temperature Just Right
The custard filling is the heart of every Pastel de Nata, and getting it right is crucial. When making the custard, heat the mixture gently to avoid curdling. You want it to be smooth and silky, not scrambled. Stir constantly while heating to keep the mixture evenly distributed.
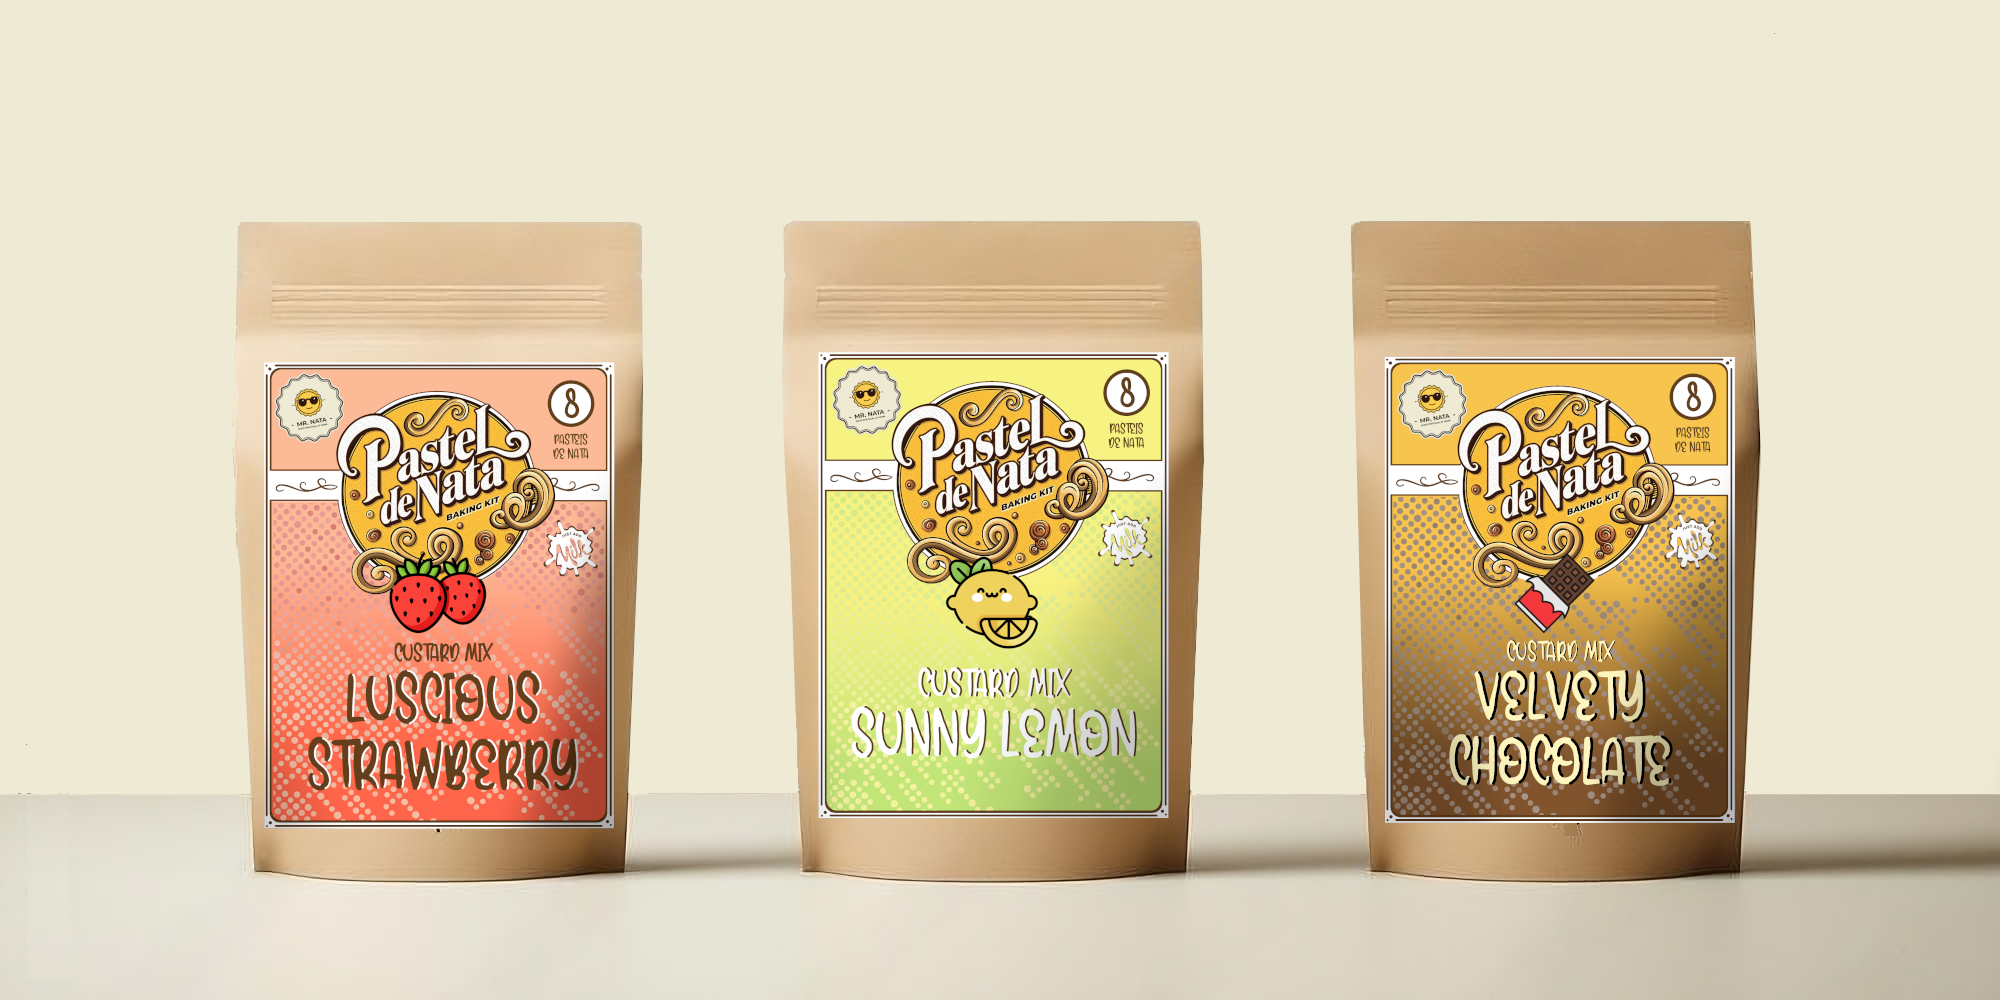
If you're using the Mr Nata kit, the custard mix is pre-prepared to take the guesswork out of the process, ensuring you get the perfect consistency every time.
Tip: Allow the custard to cool slightly before pouring it into the pastry shells. This prevents the pastry from becoming soggy during baking.
4. Bake at a High Temperature
The key to achieving that iconic golden, caramelized top and flaky crust is to bake your Pastéis de Nata at a high temperature. Portuguese bakeries often bake them at around 300°C (572°F), but most home ovens don't go that high. Set your oven to 250°C (482°F) or the highest temperature it allows.
High heat ensures that the custard sets quickly while the pastry puffs up and crisps around the edges. Keep a close eye on the tarts during baking; they should take around 15-20 minutes. The tops should be lightly charred for that authentic look.
Tip: For an extra-crispy finish, you can use your oven’s broiler setting for the last 2-3 minutes of baking.
5. Finish with Cinnamon and Sugar
One final touch to give your Pastéis de Nata that traditional flair: a light dusting of cinnamon and powdered sugar. In Portugal, this is how the tarts are typically served, and it adds an extra layer of flavor to complement the creamy custard and crispy pastry.
Tip: Let your Pastéis de Nata cool for a few minutes after baking, then sprinkle the cinnamon and sugar on top right before serving for the best flavor.
Perfecting Pastéis de Nata at home is all about the little details—using the right ingredients, chilling the pastry, baking at high heat, and adding those finishing touches. With these five tips, you’ll be well on your way to making Pastéis de Nata like a professional chef.
And don’t forget, the Mr Nata kit has everything you need to make this process even easier, from the perfect molds to the authentic custard mix. So why not take the stress out of baking and try it today? Order your kit from MrNata.com and start impressing your family and friends with the most delicious Pastéis de Nata they’ve ever tasted!


